Environmentally Assisted Cracking Laboratory

Overview
Environmentally assisted cracking (EAC) is caused when a priori susceptible material is exposed to a critical environment above a threshold tensile stress value (applied or residual). Although there are many specific EAC forms, the most common damage mechanisms can be summarised in:
- Stress Corrosion Cracking (SCC)
- Hydrogen Embrittlement (HE)
- Corrosion Fatigue (CF)
EAC research requires advanced and diverse instruments to elucidate the interaction between the material, the stresses and loading conditions, as well as the bulk and local environments.
Environmental cracking research
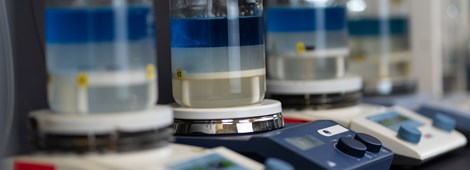
The recently established Environmentally Assisted Cracking Laboratory (EAC-LAB) is equipped with highly specialised testing equipment to evaluate a material’s mechanical performance under a wide range of corrosive environments.
Additionally, the equipment and facilities in the EAC-LAB allow us to conduct hydrogen permeation tests using the Devanathan-Stachurski method (ASTM G148), conventional electrochemical experiments, and more.
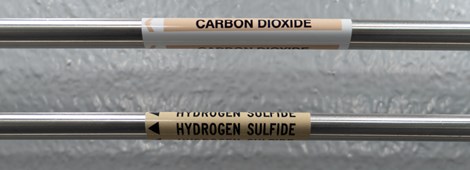
All tests can be done under controlled atmospheres utilising various gases (N2, CO2, and air) and under precise temperature control, from 0 to 98°C.
The lab also houses a microhardness apparatus capable of producing Vickers microhardness maps as well as a brand-new light optical microscope with advanced image manipulation capabilities.
Equipment
Load frame
Our multipurpose Cortest Load Frame with a 10,000-lbf (44 kN) capacity, allows us to perform Slow Strain Rate Testing (SSRT) and Constant Extension Rate Testing (CERT) with extension rates between 10-7 and 1.27 ⨉ 10-3 mm/s. Tests can be conducted to meet the requirements of international standards such as NACE TM0198, ASTM G129-6, and ISO 7539. Cyclic Corrosion Fatigue Testing (CF) can be carried out with a maximum frequency of 2 Hz, and the fracture mechanics of materials can be evaluated using the Direct Current Potential Drop (DCPD) method as per various international standards, including ASTM F1624 and ISO 7539-9.
The environmental chamber permits the use of a wide range of test solutions in a temperature range from 0–100°C. Furthermore, tests can be performed under cathodic or anodic polarisation.
Proof rings
Uniaxial tensile testing under a constant load can be performed with our 20–38 kN capacity Cormet Proof Rings as loading devices. Proof ring testing enables us to evaluate the EAC resistance of metals and alloys exposed to a specific environment and at a particular stress level.
The susceptibility to environmental cracking is determined by the time-to-failure and results in a fail/no-fail event. The so-called threshold stress for environmentally assisted cracking can be determined by performing multiple proof ring tests at incremental loads. Materials can be, then, ranked according to their environmental cracking susceptibility in specific environments.
Proof ring testing is included in the NACE TM0177 standard (Method A) for laboratory testing of metals regarding their resistance to sulfide stress cracking (SSC) and stress corrosion cracking (SCC) in H2S environments.
Three- and four-point bending fixtures
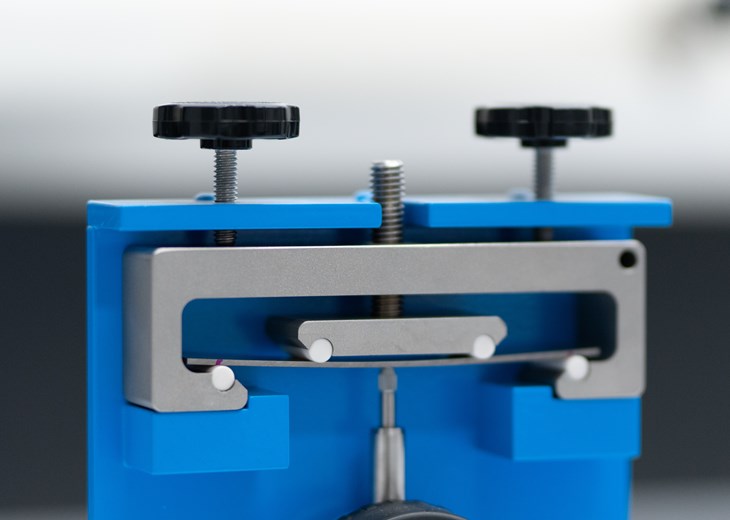
Other essential mechanical evaluations that can be carried out at the Curtin Corrosion Centre’s EAC-LAB are the NACE Three- and Four-Point Bent-Beam Tests, covered in Method B or NACE TM0177 and the new TM0316.
In this case, test samples are deflected to predefined constant displacement and subsequently exposed to the test environment in the stressed state. The UNS N10276 (Hastelloy C-276) construction of the bending fixtures allows the use of highly corrosive and aggressive test solutions. After a certain amount of time, usually 720h, the test sample is examined for environmental cracking, resulting in a fail/no-fail event.
As with proof ring testing, the resistance to environmentally assisted cracking for a material at a certain stress level in a specific environment can be determined using this test method.
Optical Microscopy
The EAC-LAB is also home to a state-of-the-art optical microscope, the Nikon Eclipse LV150N, and Nikon's stereoscopic microscope, the SMZ745T.
The Nikon Eclipse LV150N features five different optical lenses (5x, 10x, 20x, 50x, 100x) and the option to examine a material's microstructure using bright- and darkfield microscopy, as well as polarised light. Paired with a powerful image analysis software, that features advanced measuring techniques, grain and phase analysis and extended depth of focus (EDF), it is an essential piece of equipment for general metallurgical characterisations and failure investigations.
The SMZ745T Stereo Microscope is primarily used for macroscopic investigations with its lower magnification range that goes up to 7.5x. Compared to the Nikon Eclipse LV150N, the Stereo Microscope has a greater depth of focus and a more significant working distance of 115 mm.
Both microscopes complement each other to cover a wide range of material and metallurgical characterisation.
Vickers microhardness tester
The hardness of a material is a crucial mechanical property. Hardness correlates with the materials yield strength and —for specific metals and alloys—might be proportional to the hydrogen embrittlement susceptibility.
Our Vickers Microhardness Tester enables hardness measurements in a load range from 10 gf–2 kgf. Thus, not only the general hardness of the material can be determined, but also specific hardness measurements of secondary phases, precipitates within a multiphase material or thin coatings can be performed using the lower spectrum of the load range. All tests can be carried out in accordance with international standards.


